maandag 30 maart 2015

My Little Tolch - Smith Little Torch from China

In class, we mainly use small butane torch with integrated gas tank and igniter for soldering. For larger pieces, there is a larger Propane torch with different size tips.

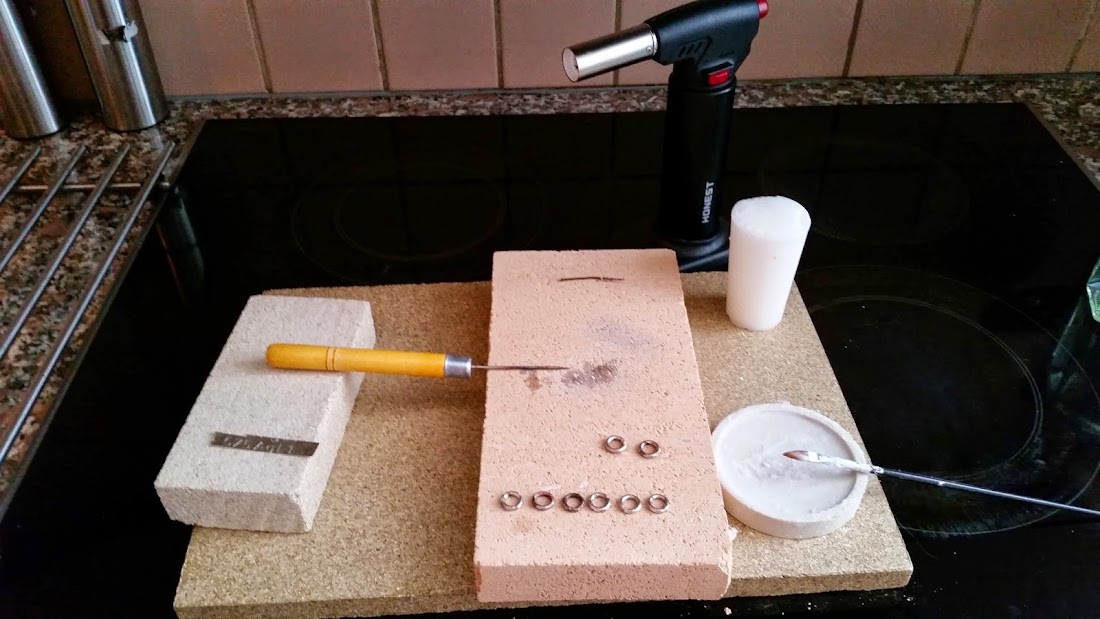
Initially, I got myself a similar small butane torch for use in my own workshop. And to be honest, it turned out to be sufficient for most soldering jobs. But as pieces grow larger, so do the requirements for the torch. So I decided on a propane/butane and oxygen torch. The torch recommended by most experts on the web is the 'Smith Little Torch'. I Chose a simple setup, with disposable gas cylinders.


I bought My Little Torch from China for US$30/ €27 including shipping (from Aliexpress).


Pressure regulators and gas bottle I bought locally.


Oxygen cylinder and regulator:
1 liter wegwerp cilinder met 100 liter zuurstof gas M10x1 (Disposable oxygen cylinder, M10x1 )
Zuurstof drukregelaar M10x1 met anti- terugslagklep t.b.v. lasbrandersets (Oxygen regulator for M10x1, with check valve)


Gas cylinder and regulator:

600ml Supergas gaspatroon 7/16" (Disposable gas cylinder, 7/16")
Gas drukregelaar 7/16" met anti- terugslagklep t.b.v. lasbrandersets (Gas regulator for 7/16", with check valve)


Total cost for the torch, regulators and gas is around €100.

I removed the original hose couplings from the torch's hoses and connected the hose directly to the gas regulators.


The pillar on the gas regulator measures 3.5mm. The pillars on the original couplings measure 4mm. This means, that the original brass ferrules can not be re-used to install the hose. The hose must be secured using a 6mm hose clamp.


The Little Torch puts out an amazingly hot flame. Certainly something that requires getting used to, so I started out soldering some coins together...


...and melting some copper wire...


...and some brass.


I Found the cost of oxygen to be quite high, so I also keep using my butane torch when possible.


zondag 15 maart 2015

Silver ring with Topaz.

For this ring, we first had to go shopping at "Edelsteenslijperij de Sprong", where we bought a wonderful Topaz. The color most likely originates from irradiation of the stone, a common treatment.


This ring is made as the final assignment in this years jewelry making course.


The stone is 6mm in diameter and a simple design is made in my sketchbook:


The outer bezel is drawn on a sheet of 0.4mm 925 silver, sawed, filed and soldered. The inner bezel is made in the same manner from 0.6mm silver. The Topaz will rest on this inner bezel and be held in place by the outer.


The base of the ring is made from 1mm 925 silver. Again, sawn by hand from a larger sheet of metal.


The inner bezel, outer bezel and ring are all soldered together in several stages with hard (1) and medium (2) solder.


The excess length of bezel is filed down to make a smooth surface on the inside of the ring.


Now comes the fun part. Setting the stone in the bezel.


Hammering the silver over the stone made me very nervous, even though it is relatively inexpensive.

After a final polish and cleaning, the ring emerges. I Still can't believable that I just made this! Time for some 'manly' photographs of my new ring :-)


This ring is now featured in our portfolio, Similar rings can be found in our webshop.

Making a twisted wire ring

Having entertained myself with jump rings, I decided it was time to learn something new from the book "Tips and Shortcuts for Jewellery Making" written by Stephen O'Keeffe:


I Choose the twisted wire ring design, because I have a lot of copper wire on hand!


The twisted wire ring begins with... twisting the wire using a pair of pliers.

Next comes the fun part; hammering the twisted wire flat and forming it into a ring. I Solder the ring with silver and the new paste "flux h". The ring is not completely round, for I still need to buy a ring mandrel to do that. But I manage to get a wearable result. 


The copper ring has a major disadvantage in that my hand turns a dark green color underneath it, especially after riding in my Strada which always makes me sweat. Meanwhile, the mailman brings me some silver wire and a mandrel I ordered at a local shop. So it is time for the next step: Making the same ring in Sterling silver!


I use 200mm of 1.5mm round 925 silver wire for this ring. The silver is more rigid than the copper wire and does not twist as easily. So the twisted silver wire ends up with fewer twists than the copper one.

I Am now quite happy with the result. My wife and I make a third ring of similar design for her to wear, but now we solder the twisted wires to each other before hammering it flat. I Also anneal the wire to make it easier to twist.

I Use a hanging motor to clean up the metal and polish it to a shine. Jay, success!