zondag 15 maart 2015

Silver ring with Topaz.

For this ring, we first had to go shopping at "Edelsteenslijperij de Sprong", where we bought a wonderful Topaz. The color most likely originates from irradiation of the stone, a common treatment.


This ring is made as the final assignment in this years jewelry making course.


The stone is 6mm in diameter and a simple design is made in my sketchbook:


The outer bezel is drawn on a sheet of 0.4mm 925 silver, sawed, filed and soldered. The inner bezel is made in the same manner from 0.6mm silver. The Topaz will rest on this inner bezel and be held in place by the outer.


The base of the ring is made from 1mm 925 silver. Again, sawn by hand from a larger sheet of metal.


The inner bezel, outer bezel and ring are all soldered together in several stages with hard (1) and medium (2) solder.


The excess length of bezel is filed down to make a smooth surface on the inside of the ring.


Now comes the fun part. Setting the stone in the bezel.


Hammering the silver over the stone made me very nervous, even though it is relatively inexpensive.

After a final polish and cleaning, the ring emerges. I Still can't believable that I just made this! Time for some 'manly' photographs of my new ring :-)


This ring is now featured in our portfolio, Similar rings can be found in our webshop.

Making a twisted wire ring

Having entertained myself with jump rings, I decided it was time to learn something new from the book "Tips and Shortcuts for Jewellery Making" written by Stephen O'Keeffe:


I Choose the twisted wire ring design, because I have a lot of copper wire on hand!


The twisted wire ring begins with... twisting the wire using a pair of pliers.

Next comes the fun part; hammering the twisted wire flat and forming it into a ring. I Solder the ring with silver and the new paste "flux h". The ring is not completely round, for I still need to buy a ring mandrel to do that. But I manage to get a wearable result. 


The copper ring has a major disadvantage in that my hand turns a dark green color underneath it, especially after riding in my Strada which always makes me sweat. Meanwhile, the mailman brings me some silver wire and a mandrel I ordered at a local shop. So it is time for the next step: Making the same ring in Sterling silver!


I use 200mm of 1.5mm round 925 silver wire for this ring. The silver is more rigid than the copper wire and does not twist as easily. So the twisted silver wire ends up with fewer twists than the copper one.

I Am now quite happy with the result. My wife and I make a third ring of similar design for her to wear, but now we solder the twisted wires to each other before hammering it flat. I Also anneal the wire to make it easier to twist.

I Use a hanging motor to clean up the metal and polish it to a shine. Jay, success!


zondag 11 januari 2015

Pumping up the heat.

Meanwhile, the amount of Goldsmithing 'stuff' in our house is growing steadily. Having learned the basics on how to solder, we acquired the tools to practice soldering at home. 'We' meaning my wife and me, not the royal we ;-)


Some items come from DeZilverWinkel, others (mainly the burner) from AliExpress. The lot is shown here on my workbench - AKA the ceramic kitchen stove. I Must have the most understanding wife in the whole wide world. I Love her!


These are the copper rings I soldered at GoldenArtDesign. I Showed them before in the topic One ring leads to another.


Eventually, I found this inspiration for my solderingproject. Or rather, my lovely wife did. She is very good at finding things, and I shamelessly stole this idea.


First step is to find out the wire size and ring diameter. After some experimenting, I decided to use 2mm Alpaca wire, wound around a 6mm dowel.


Last week, I continued the project by making 36 rings from 1 meter of wire, that should give me 100mm of finished chain.


So today was the day to practice soldering at home. A Quick refresh on how to solder... and on we go! (Book: Vakgeheimen van het sieraden maken, Stephen o'Keeffe.)


Here is the first ring soldered at home:


After a while, I end up with an assortment of soldered rings.


After a soak in Vitrex (Alkaline solution), the rings look like this:


A Grand assortment of rings that have either:

- Too much solder or too little solder.
- Too much flux or too little flux.
- Too much heat, or not enough heat applied.

So, I decide that I need to work on my skills some more :-)


That, and replace the Borax flux with the "flux h" paste.


Finally, after some more practice and using the new flux, I ended up with a leather-and-alpaca bracelet that doesn't look too shabby.


I Even may consider wearing it from time to time!


zaterdag 3 januari 2015

One ring leads to another.

This winter it is time to learn something new, so my wife and I enlisted with the GoldenArtDesign studio of Yolanda Nieuwboer for a course in the fine art of Goldsmithing.

And although we have not had our hands on significant amounts of precious metal, we are learning the basic skills on Copper, Brass en Alpaca Silver. 

One of the newly acquired skills is silver soldering on - in this case - handmade copper rings.


I wind copper wire on a drill bit to form a long coil. This task reminds me of making coils for a radio transmitter :-) But in this case, the coil is cut into individual rings using a jigsaw.


I use silver, flux and a blow torch to close the rings.


Not a very demanding task, but a nice exercise for the next assignment, a bracelet or necklace of your own design! My own design... well, that's a problem! I am not very good at designing, so it is Google (and the lovely wife!!) to the rescue to find soldered ring designs. This design quickly stands out:


It is a Silver Celtic Star in Chainmaille made (in this case) by Janabolic Jewelry

Of course, I have to try and copy this and after some experimenting with the size of the individual rings I come up with this:


I am pretty happy the way it turned out, especially taking into account I used only one wire thickness for all (2.5mm^2 electrical wire). 

But soldering these rings is not required and would be difficult to accomplish. So this is not usable as my project for the course. A new search on the term Chainmaille leads to literally thousands of designs including this comprehensive list of Chainmaille weaves and patterns. I Choose the Celtic Vision weave and experiment some with the ring size, as it turns out that the ring size is very important to the final result..


Encouraged, I decide to turn it into a bracelet with a simple hook.


Unfortunately, this design also does not lend itself to soldering much, so I am still in need of a design for my project. I do however end up with a bracelet that looks 'Ultragay' in the words of my dear wife. So I will probably not wear it much, although I did enjoy making it :-)


maandag 20 oktober 2014

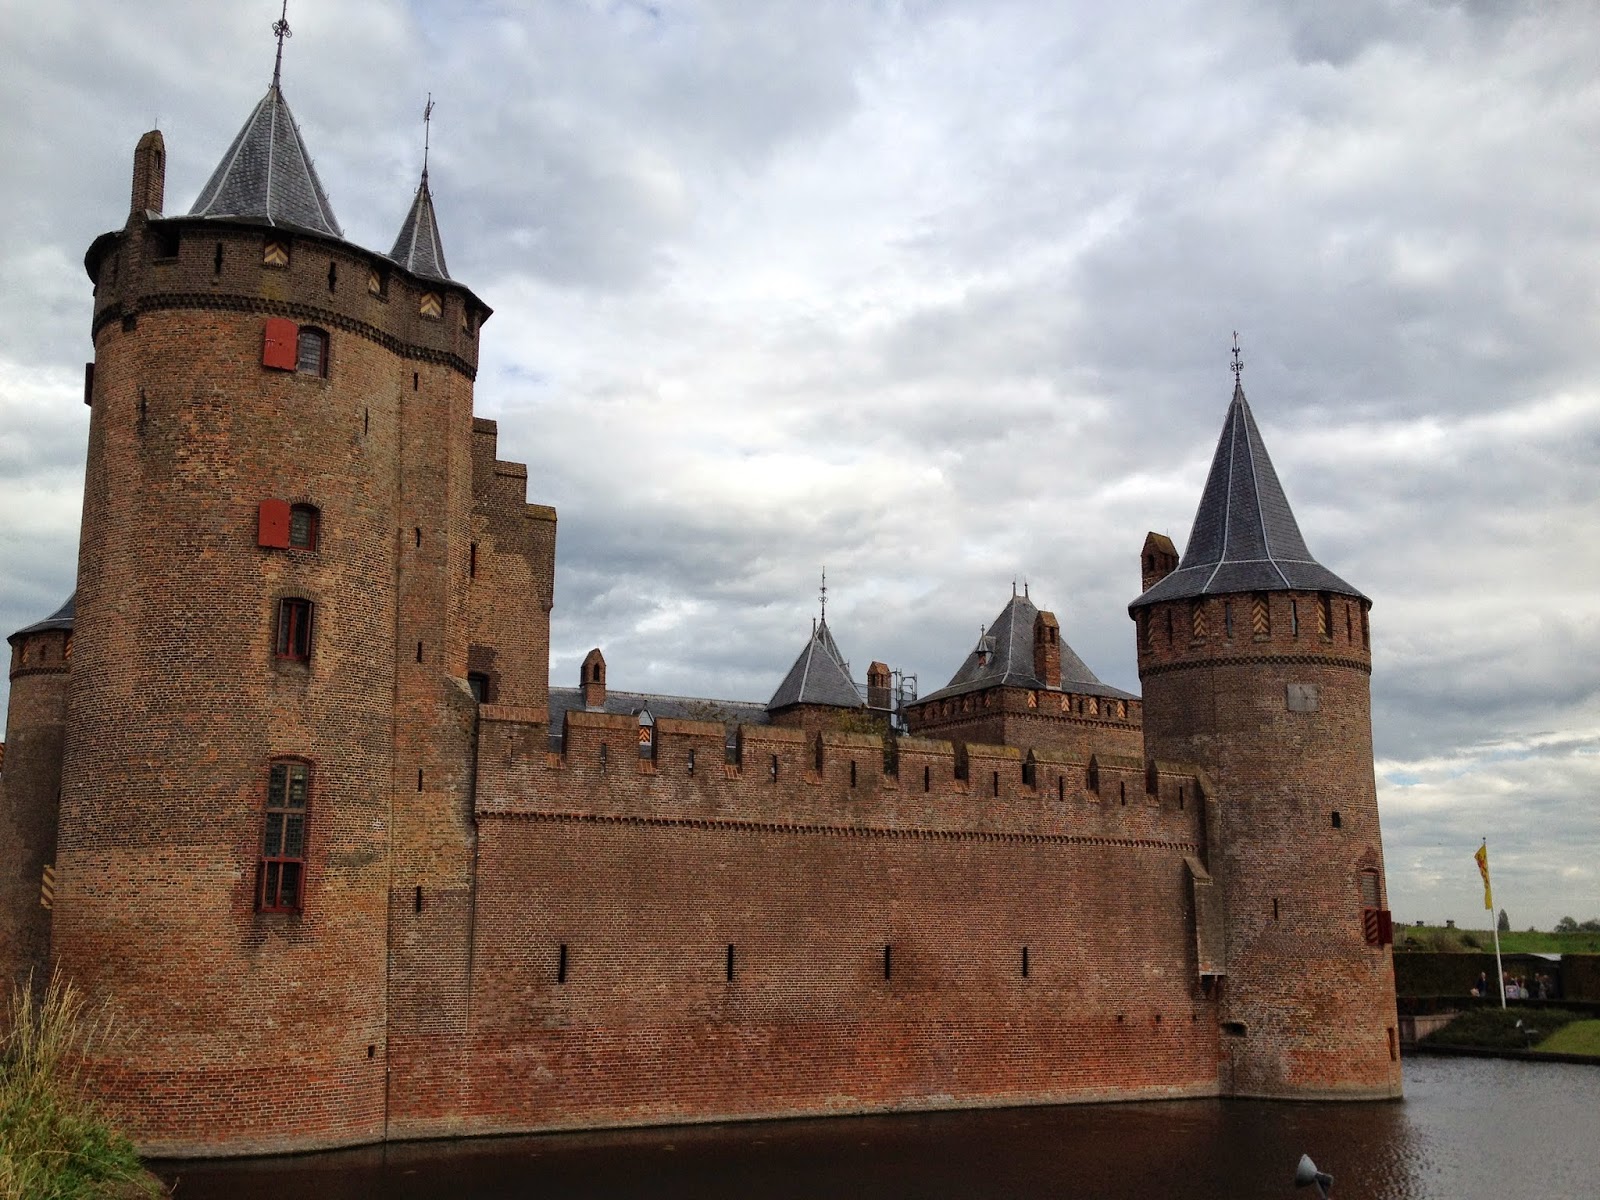
Muiderslot

Today, we visited the Muiderslot. "The most beautifull and best kept medieval castle in the Netherlands". And also not far from where we live, so we tend to visit it a couple of times a year.

Our first stop is the falconer. And also our last stop during this short visit. We got to take some pictures of the raptors Radja, Calimero, Ollie and of course, the castle.